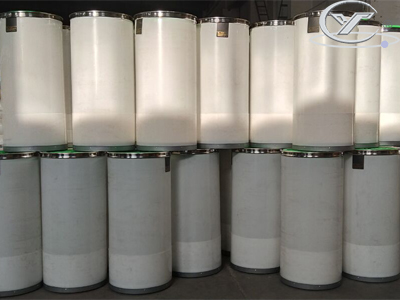
Sliver cans are essential in the textile industry, serving as containers that hold and transport slivers of fiber during the production process. Because they are used so frequently, silver cans frequently get worn out.
Instead of immediately replacing a damaged can, repairing it yourself can be a cost-effective and efficient solution. This is a thorough instruction on fixing a damaged silver can on your own.

Assessing the Damage
Before starting the repair, it’s crucial to thoroughly assess the damage to understand the extent and nature of the problem. Common issues with sliver cans include:
- Dents and Deformations: These can affect the can’s ability to hold slivers properly and may interfere with the feeding mechanism.
- Cracks and Holes: These can compromise the structural integrity of the can and cause a sliver to escape.
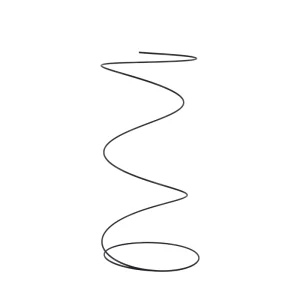
- Broken Springs: If the spring at the bottom of the can is damaged, it can disrupt the tension and pressure needed for smooth sliver handling.
Required Equipment and Supplies
You’ll need the following supplies and tools to fix a sliver can:
- Rubber Mallet: For reshaping dents and deformations.
- Metal Epoxy or Welding Kit: For repairing cracks and holes.
- Replacement Springs: If the original spring is damaged.
- Sandpaper: For smoothing rough edges.
- Protective Gear: Protection gear includes safety goggles, a mask, and gloves.
All-inclusive Repair Manual
Prioritizing safety:
- Verify that there is enough ventilation in the area you are working in.
- To protect yourself from fumes and metal fragments, put on a mask, safety goggles, and protective gloves.
Fixing Dents and Deformations:
- Identify the Deformation: Mark the deformed areas for easy reference.
- Reshape the Can: Using a rubber mallet, gently tap the deformed areas from the inside out. Start from the edges of the dent and work towards the center. This will help in evenly distributing the force and gradually restoring the original shape.
- Smoothness Check: After reshaping, touch the surface to make sure it’s smooth. Use sandpaper to level out any remaining uneven areas or sharp edges.
Fixing Holes and Cracks:
- Clean the region: To get rid of any loose particles, oil, or debris, give the region surrounding the crack or hole a thorough cleaning. This guarantees improved repair material adherence.
- Apply Metal Epoxy: Prepare the metal epoxy by mixing it in the manner specified by the manufacturer. Apply it generously to the crack or hole, ensuring it fills all gaps. Use a putty knife to smooth the surface and remove any excess epoxy.
- Welding Option: If you prefer, you can use a welding kit to seal cracks and holes. This technique offers a more robust and long-lasting fix, but it does need welding knowledge and tools.
- Cure Time: Allow the epoxy or welded area to cure completely. Several hours are often needed for this, depending on the substance and the surroundings.

Replacing Broken Springs:
- Remove the Damaged Spring: Carefully remove the broken spring from the base of the sliver can. Note how it is attached to ensure proper installation of the new spring.
- Install the New Spring: Securely attach the replacement spring to the base. Ensure it is positioned correctly and provides even pressure. Test the spring by pressing it down to ensure it compresses and returns to its original position smoothly.
Final Inspection:
- Structural Integrity: Check the overall structural integrity of the sliver can. Ensure that all repaired areas are solid and there are no remaining weak spots.
- Smoothness: Run your hand over the entire surface to ensure there are no rough edges or protrusions that could damage the sliver.
- Spring Functionality: Test the spring multiple times to ensure it maintains consistent pressure and doesn’t jam or stick.
Preventive Maintenance Tips
To extend the life of your sliver cans and reduce the need for future repairs, consider these preventive maintenance tips:
- Regular Inspections: Periodically inspect your sliver cans for signs of wear and damage. Early detection of tiny issues can help prevent larger ones.
- Proper Handling: Handle sliver cans with care, especially during transportation and storage. Avoid dropping or stacking them improperly.
- Cleanliness: Keep the cans clean and free from fiber build-up, which can cause additional wear and tear.
- Spring maintenance: To keep the pressure constant, periodically inspect the springs for wear and replace them as necessary.
Conclusion
Repairing a broken sliver can yourself can save you time and money, ensuring your textile production process continues smoothly without significant interruptions. This comprehensive guide can help you resolve typical problems including cracks, dents, and broken springs.
You can preserve the quality and effectiveness of your textile operations as well as the lifespan of your sliver cans with routine maintenance and careful treatment.

