Sliver cans are vital components in textile manufacturing, used to store and transport fiber slivers. Proper assembly of these cans is essential for maintaining the quality of the fibers and ensuring smooth production processes. This guide provides a step-by-step method for assembling the parts of a sliver can.

Components of a Sliver Can
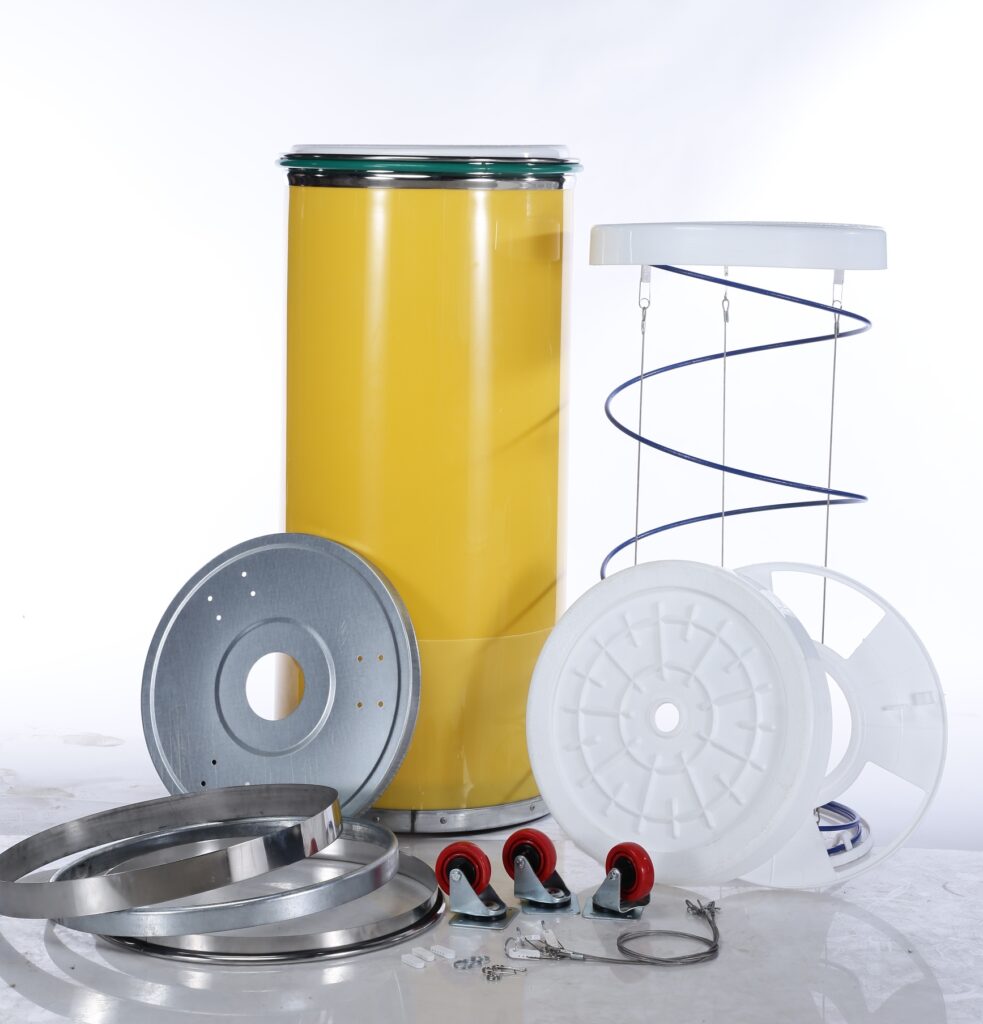
A typical sliver can consist of several parts:
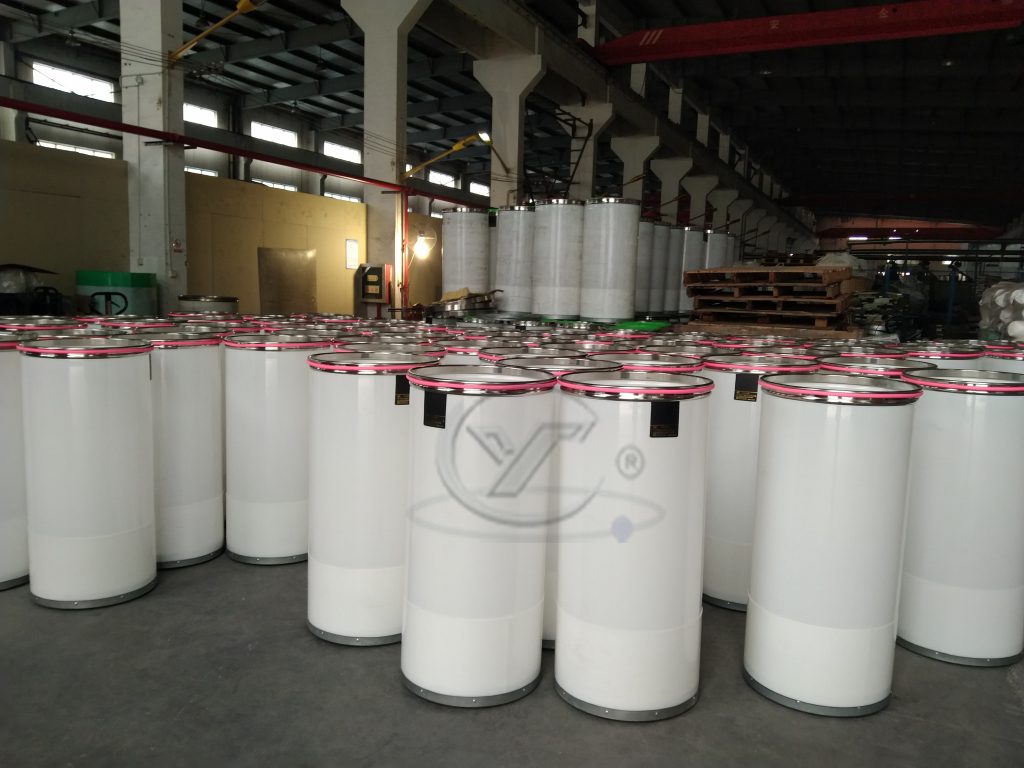
- Barrel: The main cylindrical body of the sliver can.
- Bottom Plate: The base that supports the barrel and provides stability.
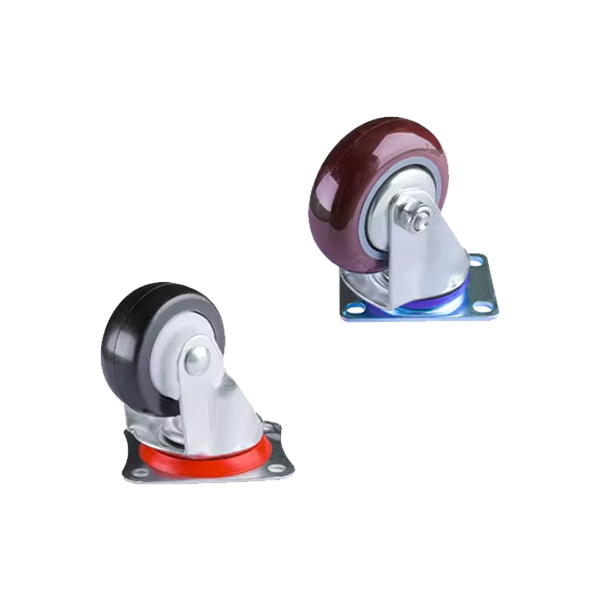
- Caster Wheels: Wheels attached to the bottom plate for mobility.
- Lid: The top cover that protects the fiber slivers inside the barrel.
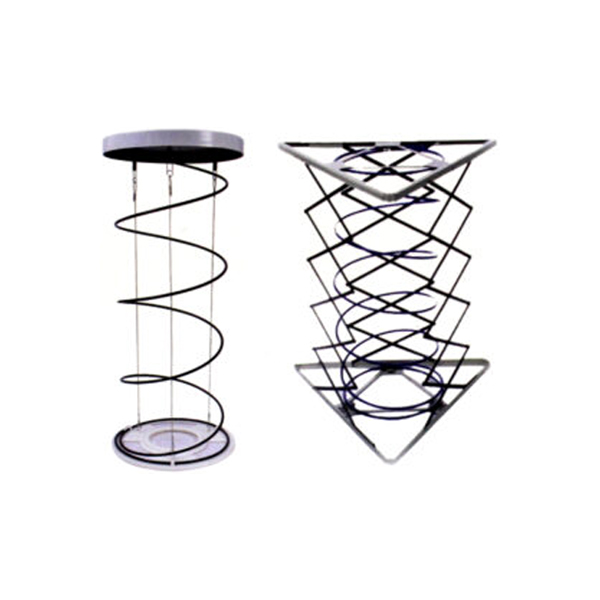
- Spring Plate: A movable plate inside the barrel that supports the fiber slivers and allows them to be fed smoothly.
- Spring Mechanism: Provides tension to the spring plate to ensure smooth feeding of slivers.
- Guides and Tubes: Components that guide the slivers from the barrel to the machinery.
Step-by-Step Assembly Guide
Preparation
Before beginning the assembly, ensure the workspace is clean and organized. Gather all necessary tools and components, including:
- Wrenches
- Screwdrivers
- Rubber mallet
- Gloves
- Cleaning supplies

Assembling the Bottom Plate and Caster Wheels
Start by assembling the bottom plate and attaching the caster wheels.
- Clean the Bottom Plate: Ensure the bottom plate is clean and free of debris.
- Attach Caster Wheels: Secure the caster wheels to the bottom plate using screws or bolts. Tighten them properly to ensure stability. If the wheels are not pre-assembled, follow the manufacturer’s instructions for attaching them.
Securing the Barrel to the Bottom Plate
Next, attach the barrel to the bottom plate.
- Align the Barrel: Position the barrel on the bottom plate, ensuring the alignment of pre-drilled holes.
- Fasten the Barrel: Use screws or bolts to secure the barrel to the bottom plate. Tighten them securely to ensure the barrel is stable and does not wobble.

Installing the Spring Plate and Mechanism
The spring plate and mechanism are crucial for the smooth feeding of fiber slivers.
- Position the Spring Plate: Place the spring plate inside the barrel. Ensure it fits snugly and can move freely up and down.
- Attach the Spring Mechanism: Connect the spring mechanism to the spring plate. To guarantee correct tension, install the springs according to the manufacturer’s recommendations. The spring mechanism should provide enough tension to keep the slivers in place without causing excessive resistance.
Installing Guides and Tubes
Guides and tubes help direct the slivers from the barrel to the machinery.
- Attach Guides/Tubes: Connect the guides or tubes to the designated points on the barrel. To avoid obstructions or tangling of the slicer, make sure all connections are tight and positioned correctly.
- Check Alignment: Ensure the guides and tubes are correctly aligned with the feeding mechanism of the machine. Ensure that the slivers have a straight and easy journey by making any required changes.
Securing the Lid
The lid protects the fiber slivers inside the barrel.
- Clean the Lid: Make sure there is no dirt or debris on the lid.
- Attach the Lid: Cover the barrel with the cover. Secure it using any locking mechanisms provided, such as clamps or latches. Ensure the lid fits tightly to prevent contamination of the slivers.
Testing the Assembly
After assembling all parts, it’s important to test the sliver can to ensure it functions correctly.
- Run a Dry Test: Perform a dry run without any fibers to check the movement of the spring plate and the alignment of the guides and tubes.
- Check for Stability: Ensure the sliver can is stable and the caster wheels roll smoothly. Make any necessary adjustments to ensure that each part is secure and functioning as it should.
Best Practices for Sliver Can Assembly
Regular Maintenance
To guarantee the durability and functionality of sliver cans, regular maintenance is required.
- Frequent Inspections: Regularly inspect all parts of the sliver can for signs of wear and tear.
- Cleaning: Keep the sliver can clean to prevent contamination of fibers. Regular cleaning ensures the slivers remain uncontaminated and maintain their quality.
- Lubrication: To guarantee smooth functioning, lubricate moving elements including the caster wheels and spring mechanism.
Employee Training
Ensure employees involved in the assembly and maintenance of sliver cans are properly trained.
- Training Programs: Put in place training courses that address safe practices and proper assembling techniques.
- Supervised Practice: Allow employees to practice assembly under supervision to ensure they understand the process and can perform it confidently.

Safety Procedures
Prioritizing safety throughout the assembly process is crucial.
- Protective Gear: Ensure that employees are equipped with the appropriate safety gear, including gloves and safety glasses.
- Clear Communication: Establish clear communication protocols to coordinate activities and prevent accidents.
- Emergency Procedures: Establish emergency protocols in the event of mishaps or breakdowns.
Troubleshooting Common Issues
Misalignment
Misalignment can cause fiber slivers to tangle or break.
- Solution: Adjust the position of the sliver can barrel and the feeding mechanism to ensure proper alignment.
Blockages
Blockages can disrupt the flow of fibers and cause production delays.
- Solution: Look for any blockages in any of the connections and guides, and remove them if needed.
Vibrations
Excessive vibrations can lead to sliver can barrel movement and fiber damage.
- Solution: Ensure the barrel is securely fastened and placed on a stable surface. Verify whether any components are loose and tighten them.
Conclusion
Regular inspections, employee training, and adherence to safety measures further enhance the effectiveness of sliver can assembly, leading to improved productivity and cost savings in the long run.
Sliver can assembly must be done correctly in order to preserve the effectiveness and caliber of textile manufacturing procedures. Manufacturers may guarantee seamless operation and avoid fiber damage by adhering to the procedures and best practices described in this guidance.

